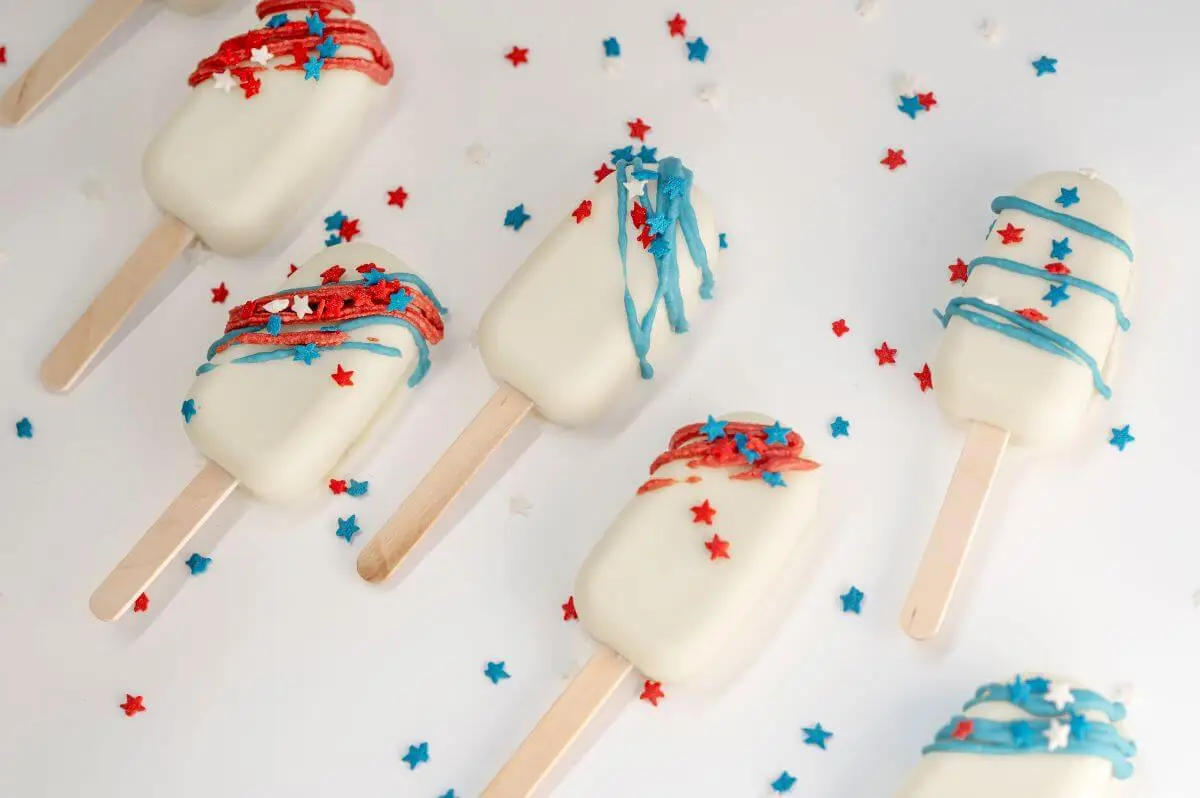
Red, White, and Blue Cookiesicles
Get ready to add an extra burst of color to your Fourth of July celebration with a tray of delightful Red, White, and Blue Cookiesicles! In this recipe, our colorful, birthday-cake flavored Confetti cookies are coated with white chocolate and molded into the shape of a popsicle before being topped with red and blue decorations for the perfect, patriotic finishing touch. In the end, you have a visually stunning treat that will be a hit at any summer gathering. Now, grab your cookie dough and get ready to whip up a batch of these eye-catching, mouth-watering cookiesicles.
Servings: 8 Red, White, and Blue Cookiesicles
Did you make this recipe? Let us see! Tag us @woodenspooncookies on Facebook.
Ingredients
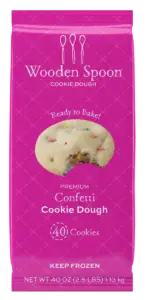
- 12 Wooden Spoon® Confetti Cookie Dough cubes
- 3 pkg. white chocolate
- Blue food coloring
- Red food coloring
Featured Flavor
Make It Happen
Step 1
Preheat the oven to 325°F. Break and place the cookie dough cubes 2” apart on a greased baking sheet. Bake 13-17 minutes, or until golden brown. Remove from cookie sheet and transfer to cooling racks. Let cool completely.
Step 2
Break cookies into small pieces and place them in a food processor. Pulse the cookies until they resemble fine crumbs. Set this aside.
Step 3
In a microwave-safe bowl, melt the white chocolate in 30-second intervals, stirring in between each one until the chocolate is smooth and fully melted.
Step 4
Spoon a layer of melted white chocolate into one of the cavities of your popsicle mold, ensuring the entire surface is coated. Use the back of a spoon to spread the coating evenly, going up the sides about three times to ensure you get a thick enough shell.
Tip: You can get popsicle molds online. This is the link to the mold we used: Set of 2 Silicone Popsicle Molds.
Step 5
Repeat step 4 with all the remaining mold cavities. Then, freeze the molds for a few minutes to allow the chocolate to finish setting.
Step 6
In a separate bowl, mix melted white chocolate with the crumbled Confetti cookies you made earlier. Mix until the crumbs are evenly coated and sticking together.
Step 7
Spoon the cookie crumb mixture into each mold cavity, pressing down gently to compact the crumbs into a popsicle shape. Each cavity should be filled to the top with the cookie mixture.
Step 8
Insert the popsicle sticks into the cookie crumb mixture, gently pushing through the coating.
Step 9
Using a spoon, add a small amount of melted white chocolate on top of your cookie mixture, spreading it to the edges and smoothing the surface as you go.
Step 10
Once all the cookiesicles are coated, transfer the molds to the freezer and let them freeze until solid. This typically takes about 4-6 hours or overnight.
Step 11
Once the cookiesicles are fully frozen, remove them from the molds. Start at the top of the mold and slowly push them out. When you reach the base, carefully pull the sticks up through the mold.
Step 12
Melt more white chocolate in two separate bowls. Mix red food coloring into the chocolate in one bowl and blue food coloring into the other. Then, spoon a small amount of each colored chocolate into separate piping bags or resealable food storage bags. Cut off a small corner at the bottom of your bags. Then, drizzle the melted chocolates over the tops of your Red, White, and Blue Cookiesicles in a decorative pattern.
Step 13
Decorate with 4th of July themed sprinkles before sharing at your Independence Day celebration.
Storage Information
Allow your Red, White, and Blue Cookiesicles to set completely before storing them in an airtight container in a cool place. They will last up to 3 days if stored at room temperature. Though, if your house is kept on the warmer side, we recommend storing them in the refrigerator to avoid the chocolate melting. They can be stored in the refrigerator for up to one week.


